June 30, 2013

glorious flowers... TSTR #173

Warm weather, sunny skies and a brand new week! That calls for a new challenge over at The Shabby Tea Room. This week Rebecca is our hostess and asks that we use:

                                            *COLOURS IN THE PHOTO
                                            *RIBBON
                                            *NEWSPRINT
                                            *FLOWERS


Paper Sweeties is our sponsor this week and I used the You're Simple the Best stamp set here. I loved the pink and blue in the photo.. Gorgeous isn't it?


I made my own frame here out of plaster of Paris. Do you remember that stuff? I used to use it as a kid.. Some pretty news print and a pop of blue to go with the pink.. lots of MME papers here today, and a little wooden house from Michaels.

 If you play along with us this week you could win your choice of 2 stamp sets to create your own goodies.
I'm off to pop round the other gals' blogs. Join me:

                                        Debbie- Paper Sweeties

                                         Lenet- To Scrap or Not to Scrap

                                         Rebecca- Paper Primrose

                                         Tracey- Trace Elementz

                                         Starr- The Paper Chase

June 23, 2013

summer breeze... TSTR #172

It's time for another fun challenge over at The Shabby Tea Room! This week Starr is our hostess and she has a fab challenge for us.. She asks that we create something using:
                                                   *COLOUS IN THE PHOTO
                                                   *A FABRIC ELEMENT.


This week I'm using the Tall Ice Cream Cone template from the Cutting Cafe, who is our sponsor this week! Play along and you could win 3 files to play with. I had fun adding fabric ice cream scoops and weaving a pattern on the cone.


Be sure to stop by the rest of the Shabby Girl blogs and join us in the Tea Room.

                                        Debbie- Paper Sweeties

                                         Lenet- To Scrap or Not to Scrap

                                         Rebecca- Paper Primrose

                                         Tracey- Trace Elementz

                                         Starr- The Paper Chase

Can't wait to see what you create!
~Becks

June 21, 2013

veggie dreaming...


This time of the year I wait patiently and hope and watch for little plants springing up in my vegetable garden. We are somewhat behind with the planting season here in the North.. so any signs of life are promising.

While I wait though, it's always fun to play with the newly released Vegetable Garden stamps from Crafty Secrets to get my veggie fix. Such lovely digital stamps to print out, and the seed packet from the Flower Garden set was so easy to change colour to suit my card here today.


 Today my seed pack doubles as a money holder for a birthday or special occasion. I've used the chicken wire paper from CD #2.


 Quick and easy to whip up for a garden lover. SO many great vegetable images to play with in this set, the possibilities are endless!

Be sure to check out the shop to see these stamp sets and the all new double sided papers. They are gorgeous and I'll be back to share a project of mine using them soon! I'm off to tinker in the garden:)

Happy Weekend!
~Becks

June 17, 2013

D.I.Y " I do's"...

After 11 and a half years together, my guy and I have decided to tie the knot. While there are so many decisions to be made, I knew right from the get-go I wanted to do as much ourselves as we can.. I think our wedding will be a reflection of who we are at this stage in our lives and I want our decor, theme, invitations etc to really speak to who we are. Of course this means involving my crafty side, and for our Save the Date cards I knew I wanted a post card style card. After searching and pricing and getting ideas I decided to jump right in and start our DIY with simple and easy Save The Dates.
Using blank backed photo papers in a 4x6 size I printed a photo that we had taken earlier in the year. It was such a fun time to find a great spot and have a photo shoot using a camera remote... thank goodness for my new DSLR!


008

In my Word program I used columns and a 4x6 template to add my written details and to leave an address spot and to write a little note to the recipient. Originally I just wanted to stick a stamp on them and mail but we decided to put them in envelopes instead to protect them.

014

My Crafty Secrets Postcard stamps were perfect to add some finishing touches and the "postcard" image. I just love the delicate flower pattern..

013

SO easy and you can customize the stamps to your colour schemes too. I chose not to heat emboss the images, but that would also be fabulous.

s

I'm so pleased with the end result. They came together fast after all the printing was done and a fraction of the cost of getting them done elsewhere..and if I need to add more guests I can simply click, print and stamp.
Hooray for DIY!
~Becks

June 16, 2013

ruffles and ribbon... TSTR #171

Welcome to another new challenge at The Shabby Tea Room. This week I'm your host and ask that you create something special using:

                                             *COLOURS: PINK + GREEN
                                             *RUFFLES
                                             *RIBBON

Today I used the Enchanted Lantern template from our shabby sponsor Creations by AR. Play along and you could win 2 files of your own to create with!


104

A little hard to add ruffles to a lantern but I did add frilly layers to my flower here..

                                     REBEKAH TSTR #171

A little pink trim and green bow finish it off.. I just adore this template and will use it again and again! Be sure to pop over to the rest of the Team blogs to see what templates they got to play with this week.
                                       Debbie- Paper Sweeties

                                         Lenet- To Scrap or Not to Scrap

                                         Rebecca- Paper Primrose

                                         Tracey- Trace Elementz

                                         Starr- The Paper Chase
See you in the Tea Room.
~Becks

June 9, 2013

sweet as sugar...TSTR #170

Welcome friends! Monday's around here bring with them a new challenge over at The Shabby Tea Room. This week the lovely Lenet is our hostess and asks that we create a project or card using:

                                            
                                             *COLOURS: BLUE, PINK,WHITE
                                             *FLOWERS


Today I'm using "Little Patisserie" by Janet's Digital Paper Shop(ETSY). This weeks winner could win collages from Janet's store so we hope you will play along with us! I've made a Birthday Pin using the scrumptious cupcake image in this collage.. there are some seriously yummy images in this collage.

Be sure to check out the sweet confections the Design Team Girls have made this week:
                                       Debbie- Paper Sweeties

                                         Lenet- To Scrap or Not to Scrap

                                         Rebecca- Paper Primrose

                                         Tracey- Trace Elementz

                                         Starr- The Paper Chase

Happy Crafting!
~Becks

June 3, 2013

plant a seed... Crafty Secrets Linky Party...


Happy June everyone! The Crafty Secrets girls and I are back to share some more fab tutorials and invite you to join our Linky Party for June. All you have to do to play along is to create something with fabulous Crafty Secrets products and link it up here on the blog.
Today I'm here to share with you a tutorial to create a gardening gift. I had seen a few tutorials online and decided to try my hand and share with you all today. This is for a seed packet gift package for someone to start a garden.

008

I started with 3 paper bags. I like to up-cycle so these have logo's on the backs from where I had gotten them. But don't worry. You won't see them once we are done. Put the logos facing inwards towards the centre bag. Both the front and  back should be free of logos. Using hot glue I glued all of the bottoms of the bags together.
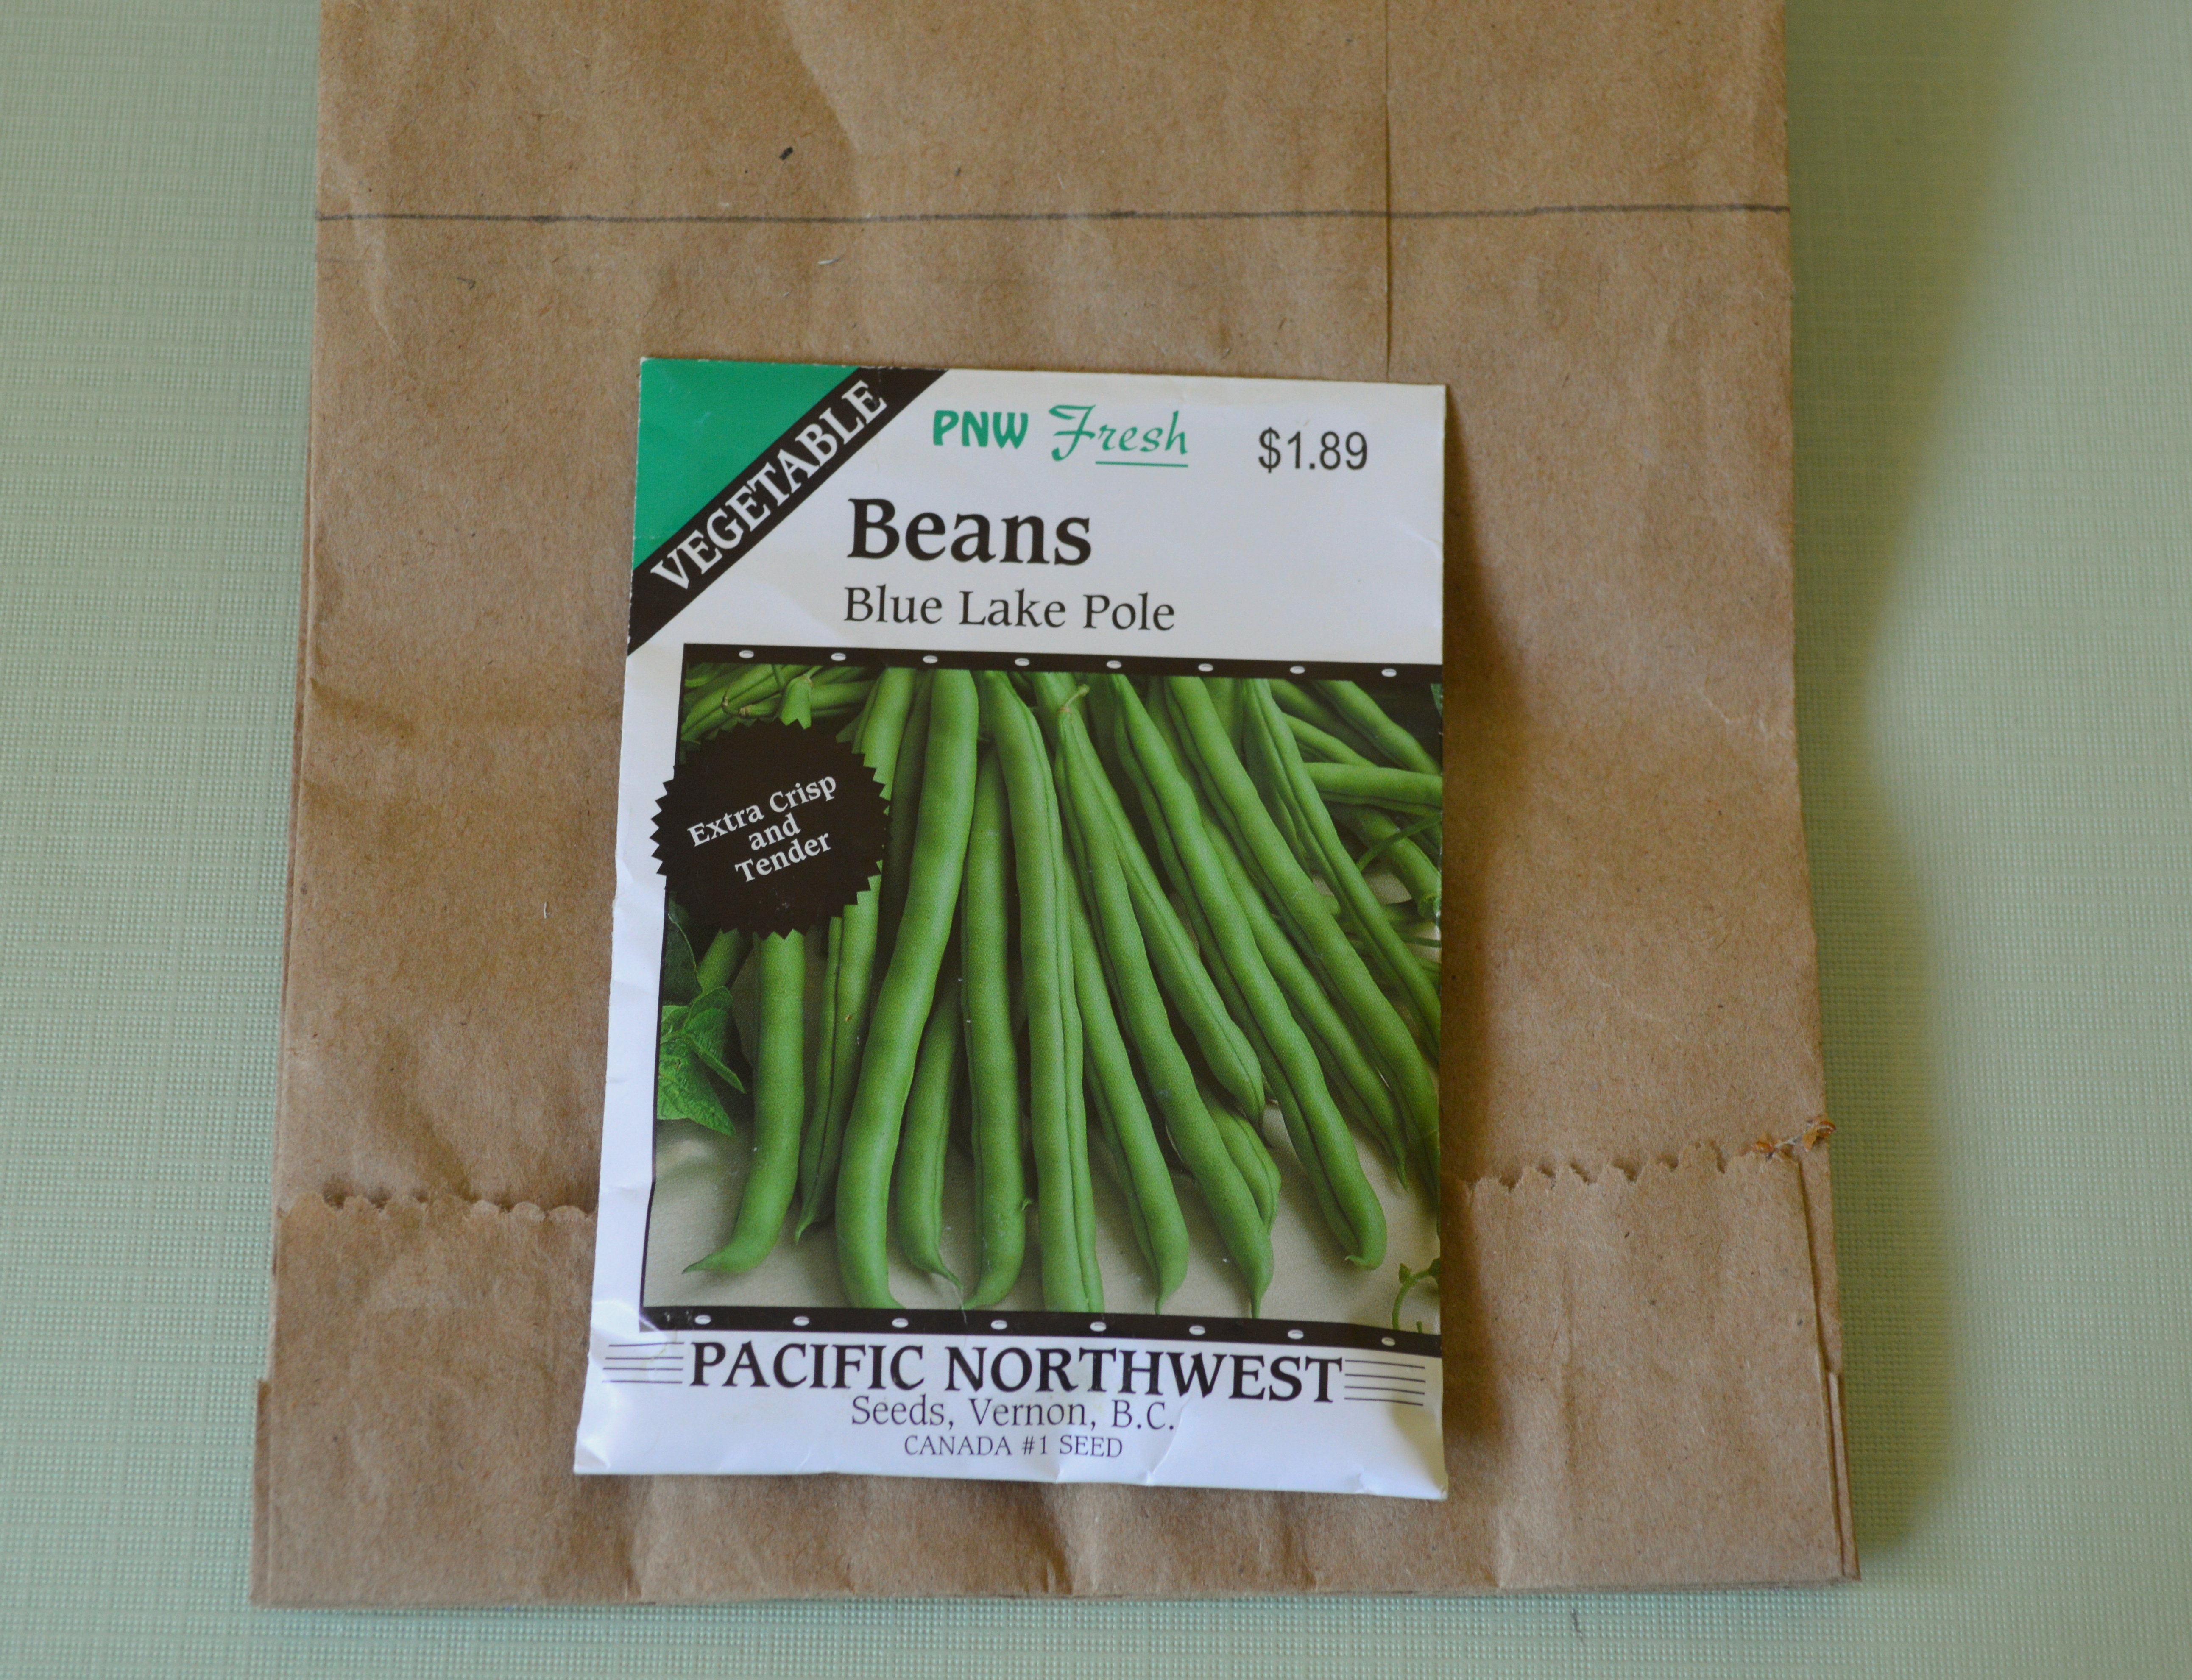
009

Next I took my bean packet and set it on the bag and measured so that I could trim the top of the bag so they don't stick out of the top.

010

Once I marked a line I cut slightly above it to account for my border punch. If you don't want to use a border punch, just leave it plain or use pinking shears. For either of the latter options you can cut right on the line.

011

Once you have your tops punched or cut, using hot glue again, join the back of the front bag to the middle bag and then do the same for the back bag. You will end up with 3 large pockets. Now we are ready to cover the front and back.

017

Here I'm using gardening papers from CD 2- Creating with Vintage Illustrations and the font included with the new Flower Garden digital set. Since I have 3 pockets I've divided up my seeds into 3 categories.

023

Printing 2 of the patterned papers,I used the brown paper bags and traced around them, then leaving about a quarter inch around each edge I cut it out and scored 1/4 inch on both sides. This will allow for us to join the front to the bag. I used a tape runner to add adhesive here.

025

The scored paper should fit just in the first fold of the side of the bag. Repeat the process for the back side and this is what it should look like.

033

Add the divider labels to the tops of the bags and add your seed packets.

043

Embellish the front and add a large ribbon to tie the packet to keep it from opening up. I created a little rhyme to add to the front to explain what the gift is...

039

All tied up and ready to give to someone to help them start a garden. You could add a pair of cute garden gloves as well.
Be sure to see what the other DT members have created this month:
Vicki Chrisman (Team Leader)

Michele Kovack

Darlene Pavlick

Melissa Bove

Sheila Rumney
Be sure to get crafty and link up for the chance to win a gift certificate to use in the shop:)
Stay sweet!
~Becks

June 2, 2013

lets have tea... TSTR #169

This week over at The Shabby Tea Room Debbie is our host and she has set a tea- themed challenge for us! She asks that we create a card or project using:
                                         *COLOURS from the photo
                                         *TEA theme
                                         *FLOWERS

photo inspiration #169

Paper Sweeties is our sponsor this week and if you play along you could win two stamp sets! I used the Join me for Tea set today.

049

We can't wait to see all of your creations in the Tea Room this week. Be sure to check out the rest of the Shabby Girl's blogs:
                                       Debbie- Paper Sweeties

                                         Lenet- To Scrap or Not to Scrap

                                         Rebecca- Paper Primrose

                                         Tracey- Trace Elementz

                                         Starr- The Paper Chase

Happy Crafting!
~Becks